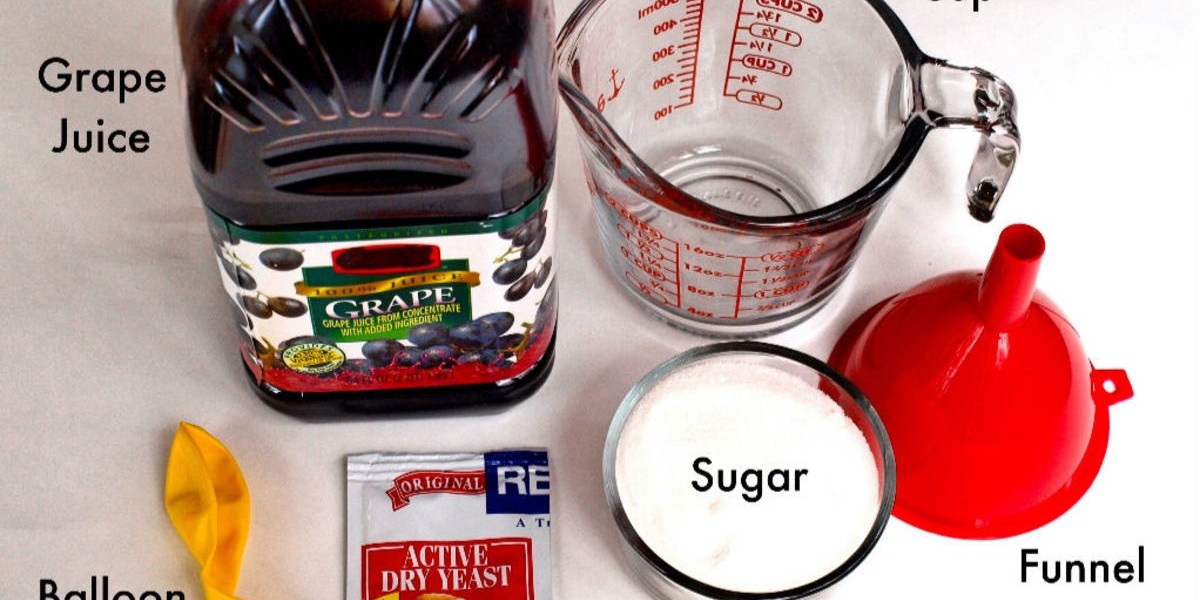
The Grapes of Math
Before we dive into the juicy details, let’s talk grapes. Choosing the right variety is crucial. For our recipe, we recommend starting with the versatile and delicious Concord grapes. They’re sweet, tart, and perfect for beginners. Plus, they’re readily available and won’t break the bank.
Ingredients:
- 10 lbs of Concord grapes (because you deserve the best!)
- 2 lbs of granulated sugar (to sweeten the deal)
- 1 gallon of filtered water (keep it classy)
- 1 packet of wine yeast (available at your local brewing store)
- 1 Campden tablet (for sterilizing)
Tools:
- Large fermenting bucket with a lid (size does matter)
- Cheesecloth or fine mesh strainer (to keep things smooth)
- Large stirring spoon (stir it up!)
- Airlock (to let the gases escape, no one likes a bloated wine)
- Bottles and corks (to capture your masterpiece)
Step 1: Grape Expectations
Start by giving your grapes a good rinse. Remove any stems and leaves—unless you want your wine to have a hint of "nature’s surprise." Crush the grapes in your fermenting bucket. You can use your hands for a rustic touch or a potato masher if you prefer not to get too squishy. Feel free to channel your inner Lucille Ball and stomp away!
Step 2: Sugar, Sugar
Dissolve the granulated sugar in the gallon of filtered water. Pour this sweet solution over your crushed grapes. This step is crucial because sugar is the magical ingredient that transforms grape juice into wine. Without it, you’d just have a very messy fruit salad.
Step 3: Yeast of Eden
Add the wine yeast to your mixture. Give it a gentle stir to combine. Cover the bucket with a cloth and let it sit for 24 hours. This gives the yeast time to wake up and get ready for action.
Step 4: The Waiting Game
After 24 hours, crush a Campden tablet and add it to the mixture. This helps to sterilize the must (that’s wine-speak for your grape mixture) and prevent any unwanted bacteria from crashing your fermentation party. Cover the bucket with the lid, insert the airlock, and let the magic begin!
Step 5: Fermentation Station
Over the next week, your grape must will bubble and fizz as the yeast does its thing. Stir it gently every day and watch the transformation. After a week, strain the mixture through cheesecloth to remove the solids. Transfer the liquid to a clean fermenting bucket or carboy. Reattach the airlock and let it ferment for another 3-4 weeks.
Step 6: Bottling Bonanza
Once fermentation is complete (the bubbling will slow down and eventually stop), it’s time to bottle your wine. Siphon the liquid into clean, sterilized bottles. Cork them securely and store them in a cool, dark place. The hardest part? Waiting. Let your wine age for at least 3 months. If you can hold out for a year, you’ll be rewarded with even better flavor.
Step 7: Sip & Savor
Finally, the moment of truth. Uncork a bottle, pour yourself a glass, and take a sip. You’ve done it! You’ve made your very own wine. Whether it’s a triumph or a learning experience, toast to your efforts and enjoy every drop.
Making wine at home is a delightful adventure filled with science, art, and a bit of luck. So, gather your supplies, roll up your sleeves, and dive into the world of homemade wine. Cheers to your new hobby and the many wonderful vintages to come!


